I'm a Zig novice. I discovered the language about a year ago, read a bit about it, worked through ziglings, listened to this podcast, and got really excited about the language.
A language with C level performance, a relatively friendly syntax, and powerful features like comptime make Zig a language to pay attention to.
In this post I want to walk you through two exercises.
- Getting started with Zig and WASM
- Getting started with Zig, WASM, and accessing GPU Compute
Getting Started
So what does it take to get started with Zig?
You can download the language from the site, https://ziglang.org/download/. If you're following along with some of the code I'll write in this post, make sure you're using version 0.11.0.
After downloading Zig and adding it to your path, run the following command to make sure you've installed zig correctly.
zig version
Now that we've installed Zig, let's set up a small application that we can run as a WebAssembly Module in our browser. I'm using Google Chrome as my browser for this exercise.
Let's create our zig library by running:
mkdir zig-wasm-experiment && cd zig-wasm-experiment
zig init-lib
zig build test
Here's our file structure:
$ tree -I '*cache'
.
├── build.zig    <== Our build instructions
└── src
    └── main.zig <== Our code goes here!
We have to make a couple of edits to our src/main.zig file in order to print some content.
We have to use extern keyword in order to reference print, which we can use as the print function that will render content in the browser console. For more about extern and export:
The
externkeyword or@externbuiltin function can be used to link against a variable that is exported from another object. The export keyword or@exportbuiltin function can be used to make a variable available to other objects at link time. In both cases, the type of the variable must be C ABI compatible.
With that in mind, here's what our new main.zig file looks like:
const std = @import("std");
const testing = std.testing;

extern fn print(i32) void;

export fn add(a: i32, b: i32) i32 {
    print(a + b);
    return a + b;
}

test "basic add functionality" {
    try testing.expect(add(3, 7) == 10);
}
Now run zig build again to make sure we haven't broken anything.
With our zig code ready to be exported as a module, which we'll get to shortly, we need a site to actually load the .wasm file into the browser.
To do this, we'll make a very simple webpage that uses native javascript to load and run the WASM.
Make a site directory alongside src with another js subdirectory containing a main.js file, and an index.html file
$ tree -I 'zig-*'
.
├── build.zig
├── site
│   ├── index.html
│   └── js
│       └── main.js
└── src
    └── main.zig
Add the following code to index.html;
<!doctype html>
<html lang="en">
  <head>
    <meta charset="UTF-8" />
    <meta name="viewport" content="width=device-width, initial-scale=1.0" />
    <title>Zig-Wasm-Experiment</title>
    <script type="module" src="../js/main.js"></script>
  </head>
  <body>
    <h1>Zig-Wasm-Experiment</h1>
    <p>Open the console to see the output 👀</p>
  </body>
</html>
And the following to main.js
const request = new XMLHttpRequest();
request.open("GET", "../wasm/main.wasm");
request.responseType = "arraybuffer";
request.send();

request.onload = function () {
  var res = request.response;
  WebAssembly.instantiate(res, {
    env: {
      print: (result) => {
        console.log(`The result is ${result}.`);
      },
    },
  }).then((result) => {
    var params = new URLSearchParams(window.location.search);
    var a = params.get("a") || 0;
    var b = params.get("b") || 0;
    var add = result.instance.exports.add;
    add(a, b);
  });
};
This simply adds two numbers together that are supplied by query parameters and uses our WASM module to do the addition.
Let's use a Makefile to run a few commands;
.DEFAULT_GOAL := help

build:
	zig build-lib src/main.zig -target wasm32-freestanding -dynamic -rdynamic -O ReleaseFast
	mv main.wasm site/wasm/main.wasm
	mv main.wasm.o site/wasm/main.wasm.o

run-fs-server:
	python -m http.server 8000 --directory site &

stop-fs-server:
	ps aux | grep python | grep http.server | awk '{print $$2}' | xargs kill -9

help:
	@echo "Usage: make [target] ..."
	@make -qpRr | egrep -e '^[a-z].*:$$' | sed -e 's~:~~g' | sort
Run make build to build your WASM module and place it where our site will expect to load it.
Now, run a server with make run-fs-server so we can access our html content.
Navigate to http://localhost:8000 in your browser and you should see...
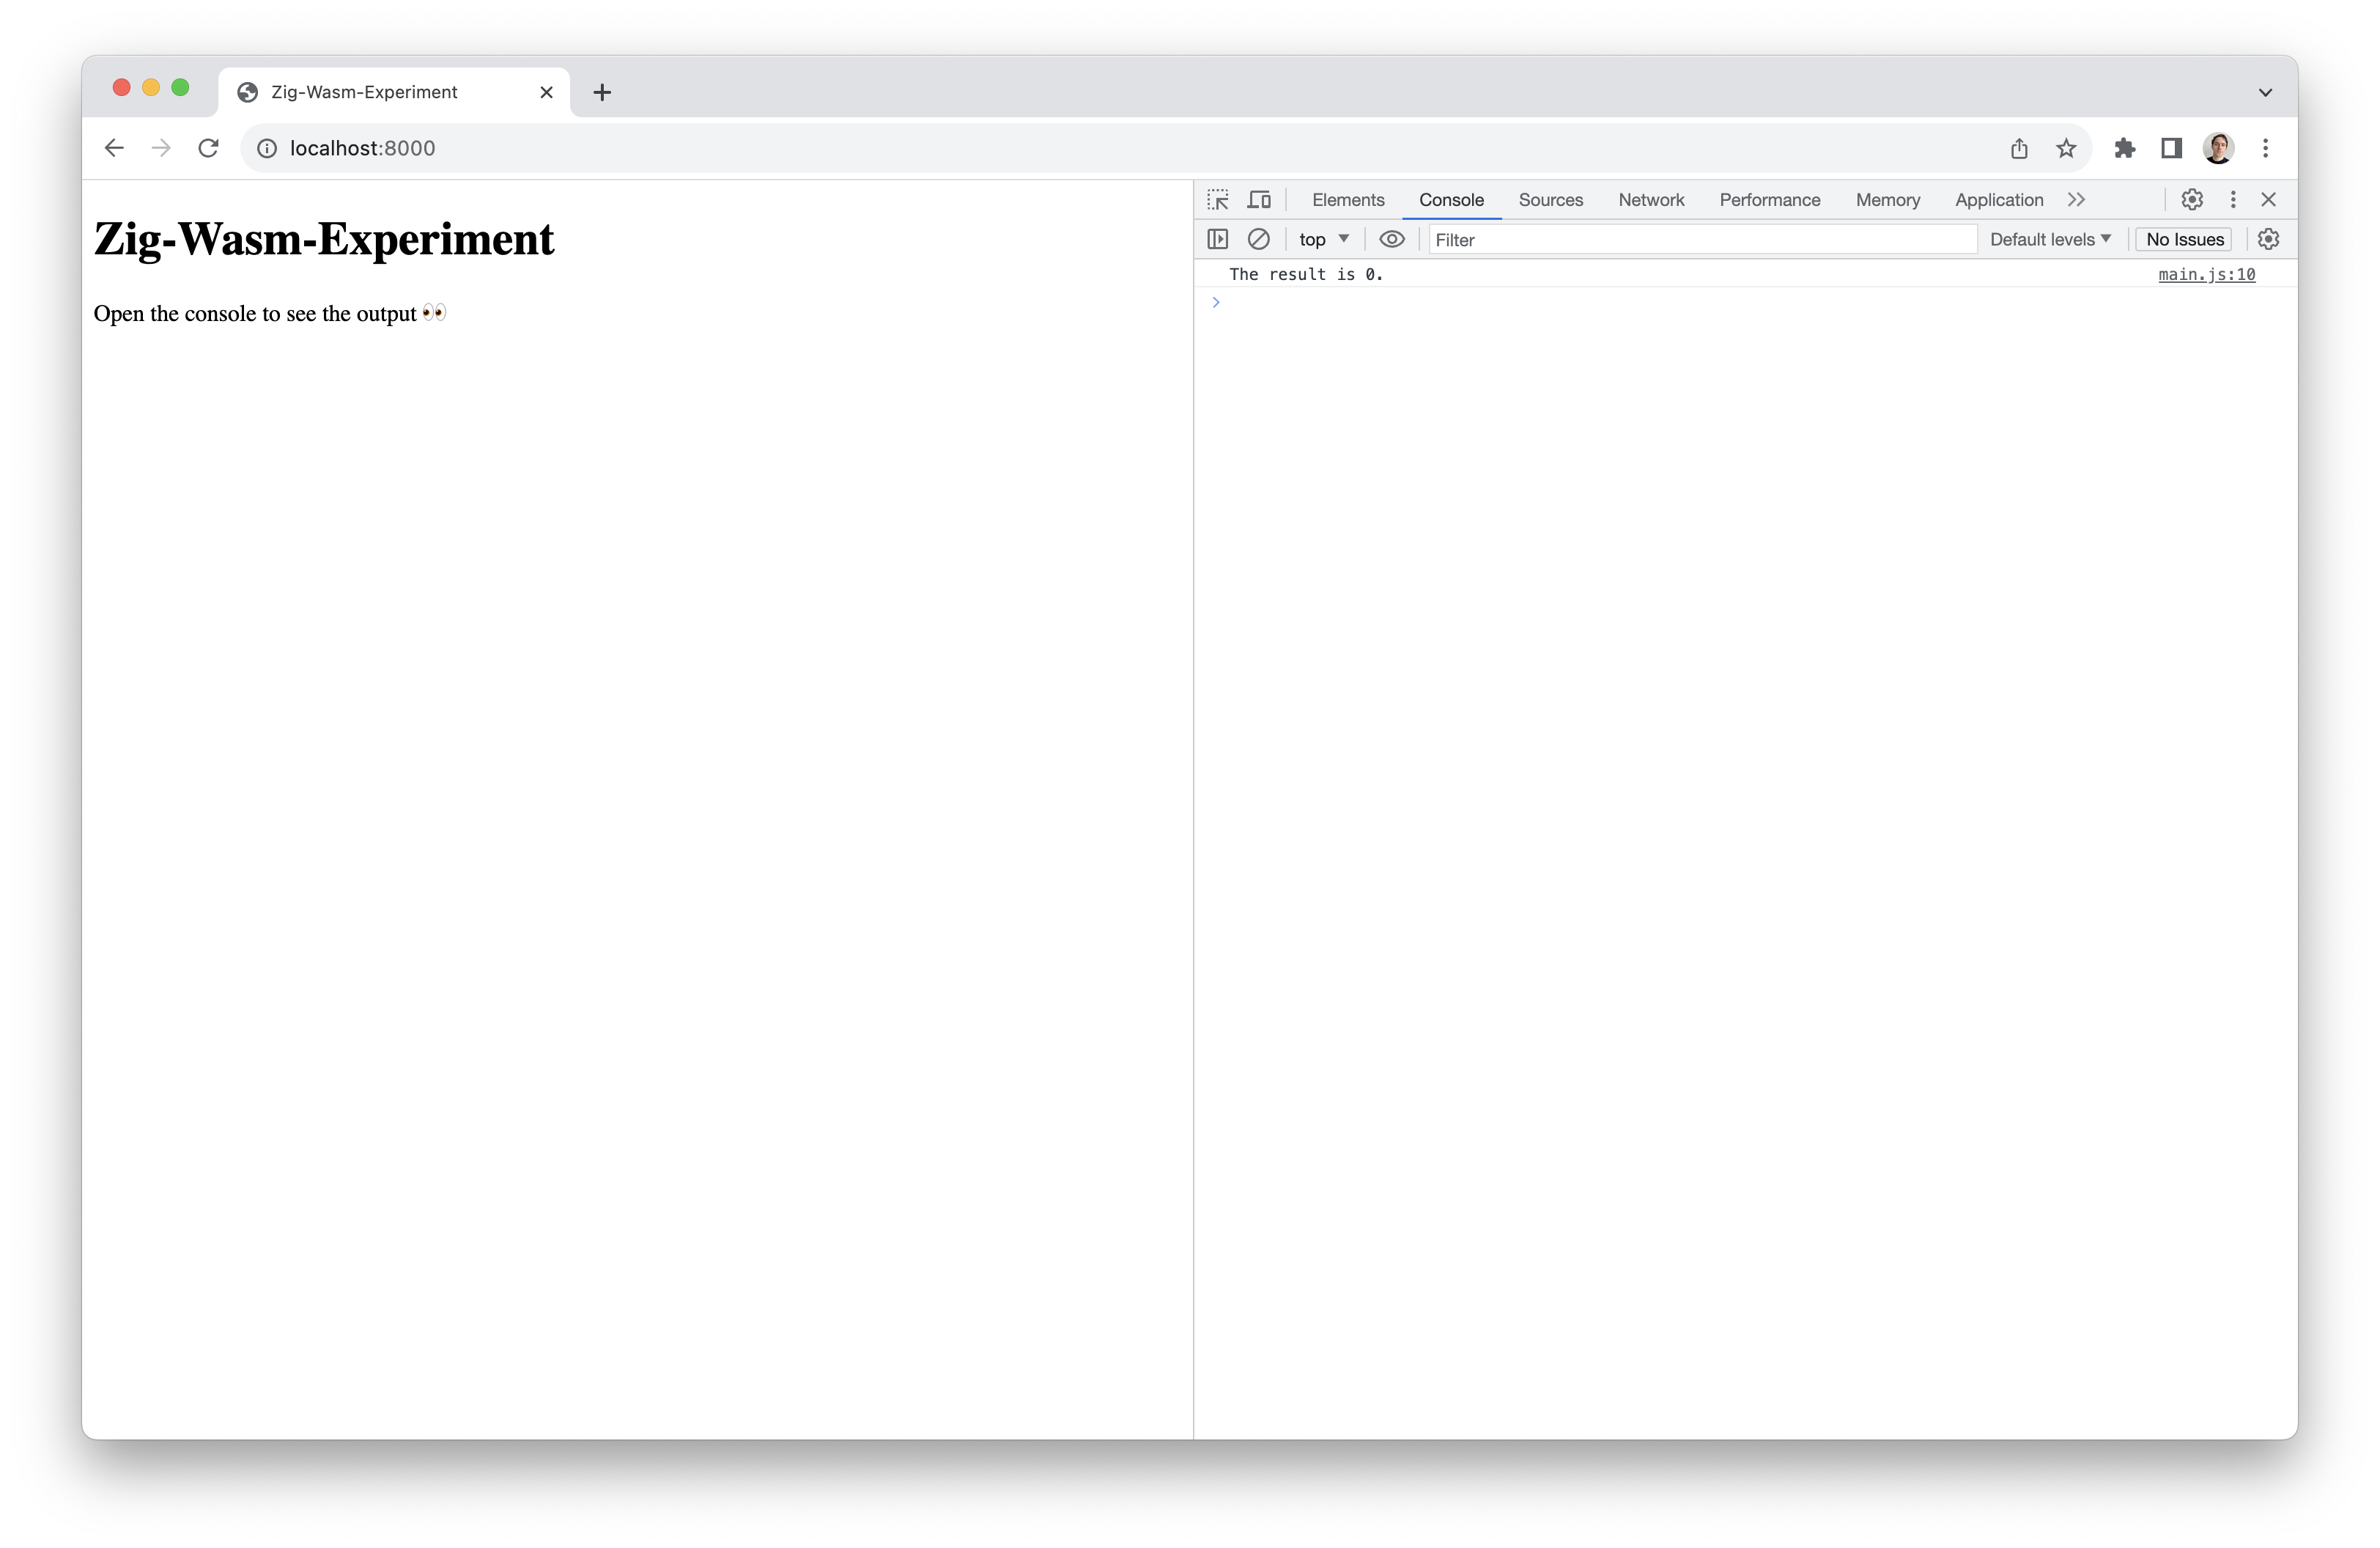
🎉 You've made a WASM module with Zig!
Now let's put it to the test by submitting a new request; http://localhost:8000?a=2&b=3

Voila!
Now that some of our initial building blocks are in place, let's stop and think how cool it would be if we could run mathematical computations in the browser that pass calculations from the cpu to the GPU and back in order to do cool things like run AI workloads in the browser... Excited yet?
Adding GPUs to the mix
In researching ways to access WebGPU via WASM and Zig, I found mach; a graphics toolkit written in zig. One example, the map-async example, showed a lot of promise.
Some of the best examples have no graphics. This one shows how to transfer data to the GPU, perform computations on that data using the GPU's parallel processing capabilities, and get results back on the CPU. If you're interested in GPU compute, this is the place to start!
But! Unfortunately, WebGPU support is not available yet with mach due to browser bindings not being available for zig.
Regardless, the map-async example in the mach core repo worked beautifully!
git clone https://github.com/hexops/mach-core
cd mach-core/
zig build run-map-async
steps [18/21] zig build-exe map-async Debug native... info(mach): found Metal backend on Discrete GPU adapter: Apple M1 Pro, Metal driver on macOS Version 13.5.2 (Build 22G91)

0 1001 2002 3003 4004 5005 6006 7007 8008 9009 10010 11011 12012 13013 14014 15015 16016 17017 18018 19019 20020 21021 22022 23023 24024 25025 26026 27027 28028 29029 30030 31031 32032 33033 34034 35035 36036 37037 38038 39039 40040 41041 42042 43043 44044 45045 46046 47047 48048 49049 50050 51051 52052 53053 54054 55055 56056 57057 58058 59059 60060 61061 62062 63063 64000 65001 66002 67003 68004 69005 70006 71007 72008 73009 74010 75011 76012 77013 78014 79015 80016 81017 82018 83019 84020 85021 86022 87023 88024 89025 90026 91027 92028 93029 94030 95031 96032 97033 98034 99035 100036 101037 102038 103039 104040 105041 106042 107043 108044 109045 110046 111047 112048 113049 114050 115051 116052 117053 118054 119055 120056 121057 122058 123059 124060 125061 126062 127063 128000 129001 130002 131003 132004 133005 134006 135007 136008 137009 138010 139011 140012 141013 142014 143015 144016 145017 146018 147019 148020 149021 150022 151023 152024 153025 154026 155027 156028 157029 158030 159031 160032 161033 162034 163035 164036 165037 166038 167039 168040 169041 170042 171043 172044 173045 174046 175047 176048 177049 178050 179051 180052 181053 182054 183055 184056 185057 186058 187059 188060 189061 190062 191063 192000 193001 194002 195003 196004 197005 198006 199007 200008 201009 202010 203011 204012 205013 206014 207015 208016 209017 210018 211019 212020 213021 214022 215023 216024 217025 218026 219027 220028 221029 222030 223031 224032 225033 226034 227035 228036 229037 230038 231039 232040 233041 234042 235043 236044 237045 238046 239047 240048 241049 242050 243051 244052 245053 246054 247055 248056 249057
There seem to be ways to get GPU processing to work without the use of mach, but as I'm still a novice, I haven't gotten that deep into the weeds just yet.
So this is where part 1 ends, with a hopeful light shining on the future of zig, WASM, and WebGPU and the ability to run AI workloads at the edgiest of edges.
The code I used for this exercise is posted on GitHub.